We’ll also go over one of the most prominent causes of low FPS and lag in Apex Legends and walk you through how to fix this issue, and we’ll show you how to display both your current framerate and your Ping in-game. On this page:
Apex Legends system requirements Apex Legends settings for best performance How to fix Apex Legends lag How to show FPS and Ping in Apex Legends
Apex Legends system requirements
It can be tricky when you first start playing a new game to know exactly what you can expect from both the game itself and the system you are running it on. To help with this, we’ve put together a list of the minimum and recommended specifications for running Apex Legends on your desktop or laptop. So as long as your specs are somewhere in this range or higher, you should be good to go.
Here are the Apex Legends system requirements:
Apex Legends settings for best performance
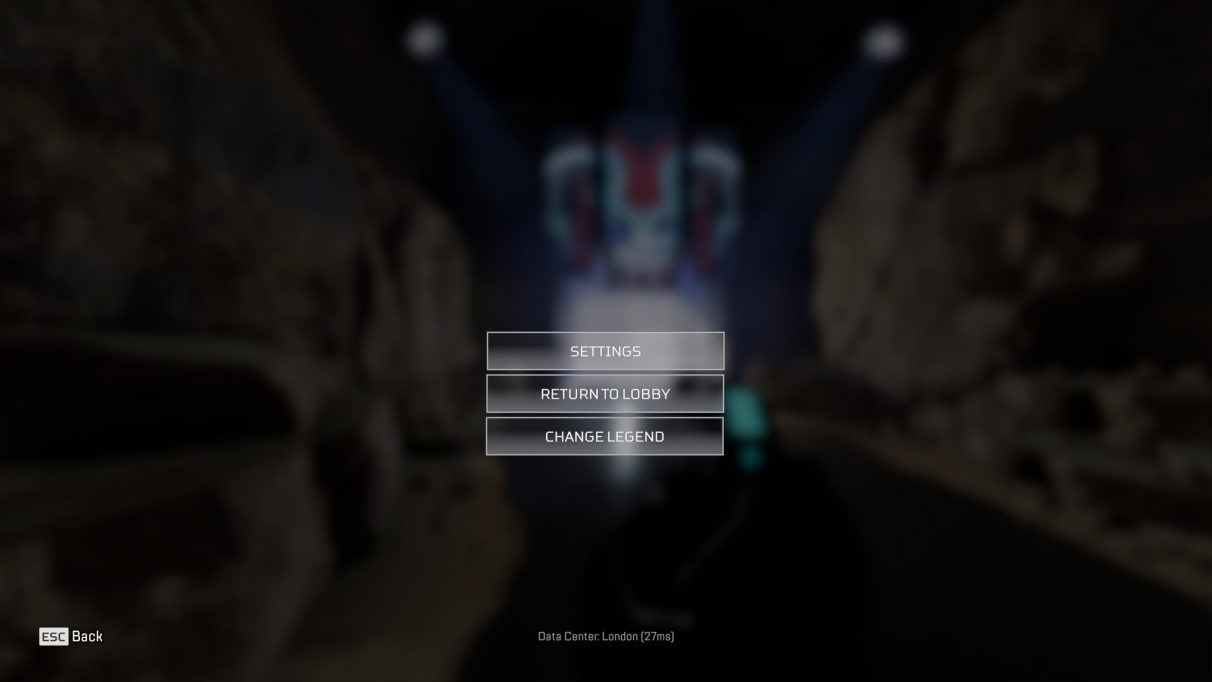
Now let’s go over all the video settings for Apex Legends. You can access this menu both from the main menu - by clicking the cog icon in the bottom-right corner - or in-game, by hitting “ESC” and selecting Settings. From here, navigate to the video tab, which is the fourth tab along at the top of your screen. Below we’ve listed each of the video settings you can change, and the impact this may have on your game experience and on your frame rate.
Display Mode - sets the game to run full-screen, borderless window or run in a window. This is a matter of circumstance and preference, but we’ve found running in full-screen to give you a marginally faster frame rate overall. Aspect Ratio - sets the aspect ratio of your display. Set this to the native aspect ratio of your monitor to avoid stretching the game image. Resolution - sets the detail of the game screen. Turning down your resolution is a surefire way to gain a significant FPS boost, but you will obviously lose out in the quality of the image, and you need to see what’s going on in a game like Apex Legends. We’d suggest optimising all other settings first, and if you still aren’t reaching your desired frame rate then you can try lowering the resolution. Brightness - Controls the display brightness when in Full Screen mode. No effect on frame rate. Field of View - how zoomed-out the view appears by default. Apex Legends warns against setting the FOV above 90 because it “may impact performance or cause visual issues”. As far as we know, the only issue that this causes is that the sniper scope distance marks may only be 100% accurate at an FOV of around 80. As long as you are okay with this, set the FOV as high or low as you’d like, because it appears that any performance impact relating to FOV is negligible. Sprint View Shake - sets the level of camera shake while sprinting. No effect on frame rate. V-Sync - controls the trade-off between screen “tearing” and input lag. We’re aware that some players are particularly sensitive to screen tearing and so this advice may not suit everyone, but if you want to perform well in this game then you probably should set the V-Sync setting to Disabled, to minimise input lag (the time between you as a player acting and the game responding to your action). Adaptive Resolution FPS Target - dynamically lowers rendering resolution to try to maintain the specified frame rate. In a similar manner to altering your base resolution, this is an effective setting to adjust if all you care about is getting above a certain frame rate, but it’ll make your visuals significantly blurrier and not nearly as sharp as you need them to be. Again we’d advise leaving this option alone unless you have no other choice. Adaptive Supersampling - dynamically raises rendering resolution if the game is running faster than the target frame rate. If you’re looking for high performance, you should keep this setting disabled. Adaptive supersampling is for PCs well above and beyond the recommended settings for Apex Legends. Anti-Aliasing - smooths the image, reducing jagged lines and sparkles. AA is useful for smoothing out objects particularly at distance, which is very useful in a battle royale when you’re scouting for enemies on the horizon. This means you should put Anti-Aliasing only just above the Resolution options in terms of getting your required frames. You don’t want to get rid of AA unless you have no other choice. Texture Streaming Budget - controls the amount of memory reserved for texture streaming. Rather nicely, Apex Legends will warn you if you try to set a texture streaming budget above the actual VRAM on your system. This aside, if you’re looking to max your FPS you’ll be setting your texture options to low anyway, so you can feel free to turn the budget down to Very Low (2GB VRAM). Texture Filtering - controls the sharpness of surface details. The Anisotropic Filtering options will often eat away at your frames, so if you’re looking for a quick and easy way to gain a potential 20%+ boost in FPS, set this down to Bilinear. Ambient Occlusion Quality - controls the render target resolution used for screen space ambient occlusion. Changing Ambient Occlusion from High to Disabled offers an even greater frame rate benefit than the previous item on this list. Sun Shadow Coverage - controls the coverage of shadows from the sun. I find all these Shadow and Lighting options to offer such a negligible improvement to the visuals relative to how many frames per second you can gain simply by switching them all off. The shadows still exist, and they may look a tiny bit less attractive than before, but I don’t plan to spend much time gazing at shadows while playing anyway. Sun Shadow Detail - controls how detailed shadows are from the sun. See above. Spot Shadow Detail - controls how detailed shadows are from lights in the environment. See above. Volumetric Lighting - controls whether sunbeams are enabled to simulate light scattering in the air. See above. Dynamic Spot Shadows - controls whether lights in the environment can move. See above. Model Detail - controls how detailed objects and legends are. Model Detail has surprisingly little bearing on your frame rate. You can expect perhaps a 1% change either way from High to Medium and Medium to Low. So you might as well leave it at High, really. Effects Detail - controls how detailed visual effects like explosions are. Effects Detail tricks you into thinking it doesn’t offer much of a benefit to enhancing your frame rate when you’re testing it, but that’s because all the effects arrive in the midst of a fight, with grenade explosions and muzzle flashes and bullet tracers flying every which way. And these are the moments where you need your frame rate to be rock solid. So set this to Low if you can stomach it, and Medium if not. Impact Marks - controls where and how many impact marks show up. All you’re losing from disabling Impact Marks is the ability to see the bullet holes in the objects and terrain that you shoot at. On the other hand, you won’t see much of an increase in performance by disabling it, so… I don’t know, you choose. Ragdolls - controls how physically accurate the dead body animations are. If Ragdoll accuracy is set to High then you may occasionally lag (depending on your system) when you kill an enemy (or if someone dies nearby). So unless you really, really want your corpses to collapse onto the terrain in just the right way, then feel free to set this option as low as possible.
How to fix Apex Legends lag
One common issue which very quickly made itself known shortly after Apex Legends’ release was that a large minority of players were achieving a far worse frame rate than expected even at the lowest settings. This happened to me, in fact, when I installed Apex Legends on my laptop. Even on the lowest settings and having set the resolution to 1280x720, I still was only reaching about 15 FPS. I’m not going to promise that this simple fix will solve everything, because maybe something different is happening to you and your system than what happened to me. But this is what worked for me and a great many other players. The instructions below are for Windows 10 systems: Turns out by default Apex tries to use the integrated grpahics on any system it can lay its hands on, which turned out to be the cause of a great many players’ lag and stutter issues. If you followed the above steps, you should now be able to relaunch Apex Legends and enjoy a comparatively far smoother ride into Olympus!
How to show FPS and Ping in Apex Legends
There are two ways to display your FPS while playing Apex Legends (without turning to third-party software like Shadowplay or Fraps, of course), and both involve Origin settings. First method: Navigate to the Gameplay tab of the Settings menu, and at the bottom of the first section of settings, toggle Performance Display on. This will give you a new HUD element in the top-right of your screen while in a match, which displays not only your FPS but also your Ping (server latency), packet loss, and more. Second method (Origin):
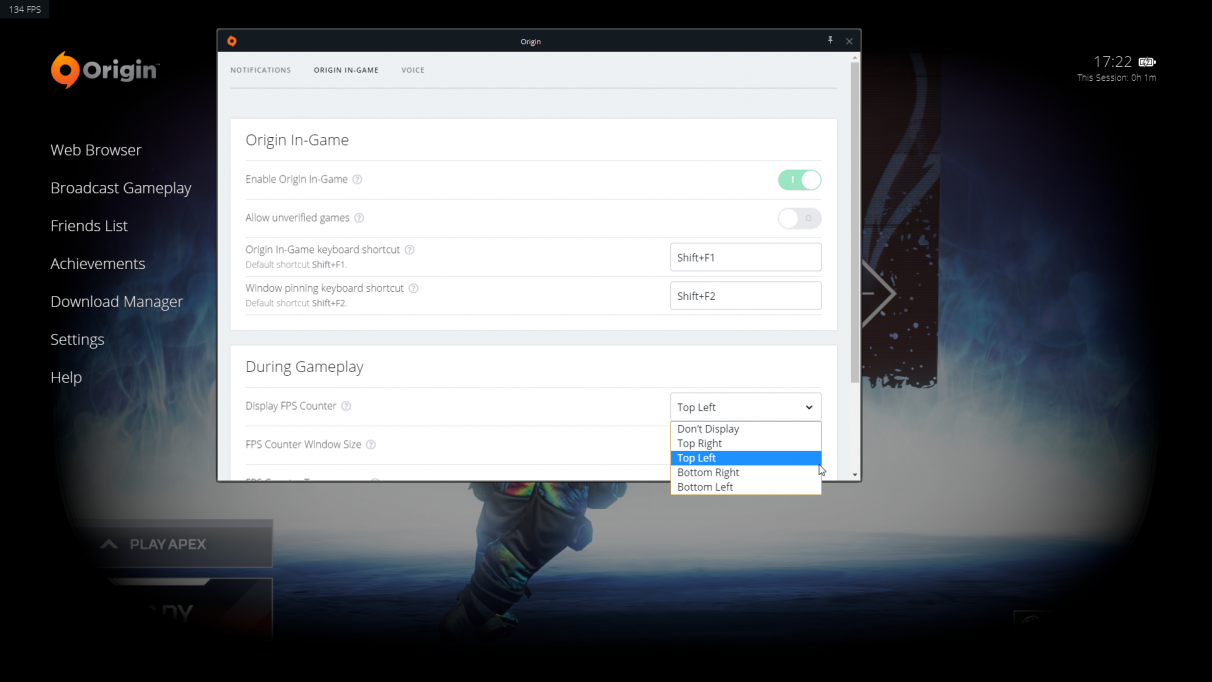
While in-game, hit SHIFT+F1 to bring up the Origin in-game overlay. Under Settings, in the Origin In-Game tab, scroll to the bottom and you’ll find a dropdown called Display FPS Counter. Using this you can display just your current frame rate unintrusively in any corner of the screen, and adjust the window’s size and transparency.
That’s everything we have to offer on Apex Legends settings and performance, so hopefully now you’ve got a handful more tricks up your sleeve with regards to eeking out as many frames as you can from your system. Take care, and see you on Olympus. I’ll be the one in the distance that looks like an anti-aliasing glitch.


