The reward, however, is an item which allows you to unlock an entirely new ending to the game, so it’s well worth following our walkthrough on Fia’s quest in Elden Ring to find out exactly how to complete every step of the journey.
Elden Ring Fia quest walkthrough
Fia the Deathbed Companion is an important character in Elden Ring. Much like with the witch Ranni, completing Fia’s entire questline unlocks an entirely new ending for you to experience after defeating the final boss. Below I’ll walk you through every single step in Fia’s quest, from your first meeting with her to your very last. Here are the steps, and I’ll break them down in more detail below. It seems like a lot of steps, and, well, it is. This questline takes a good while to complete. But fret not: we’ll go through it all one step at a time in this walkthrough. So let’s get started!
1. (Optional) Meet D across the Saintsbridge or at the Roundtable Hold
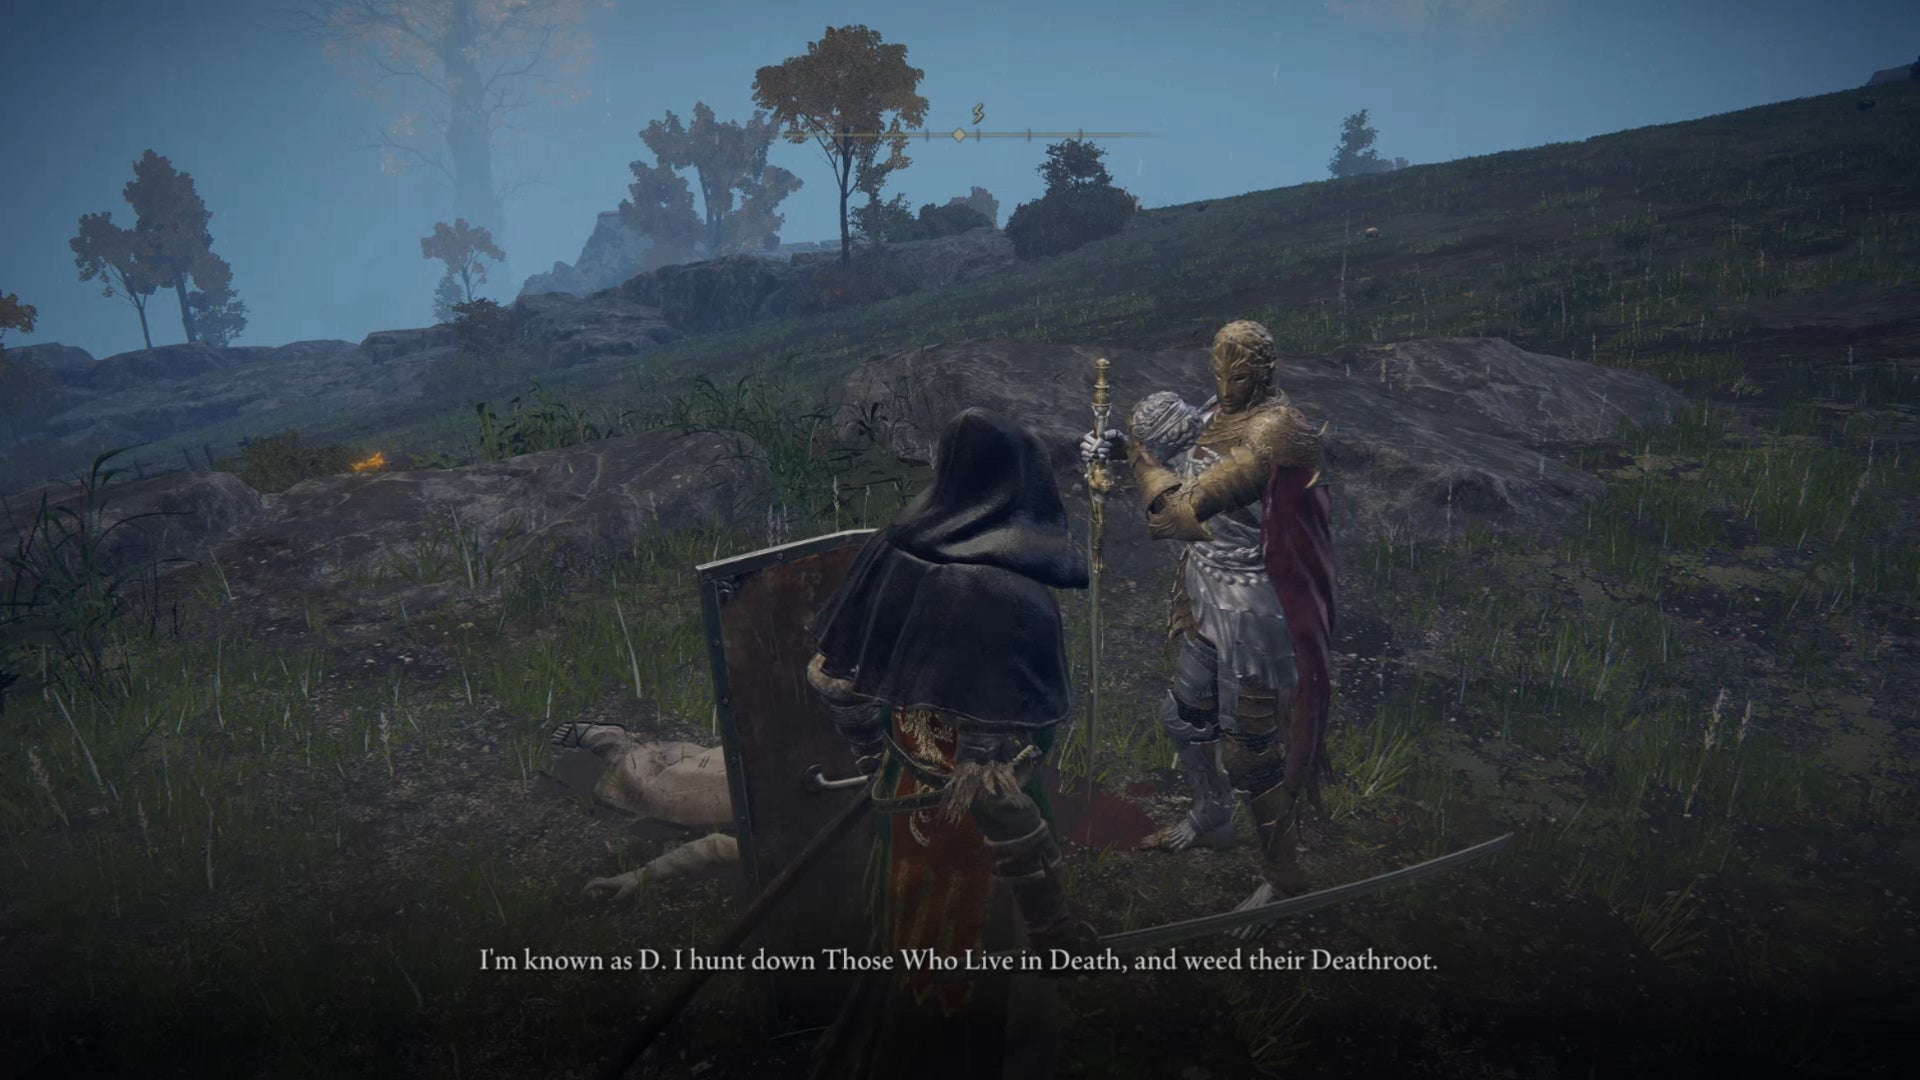
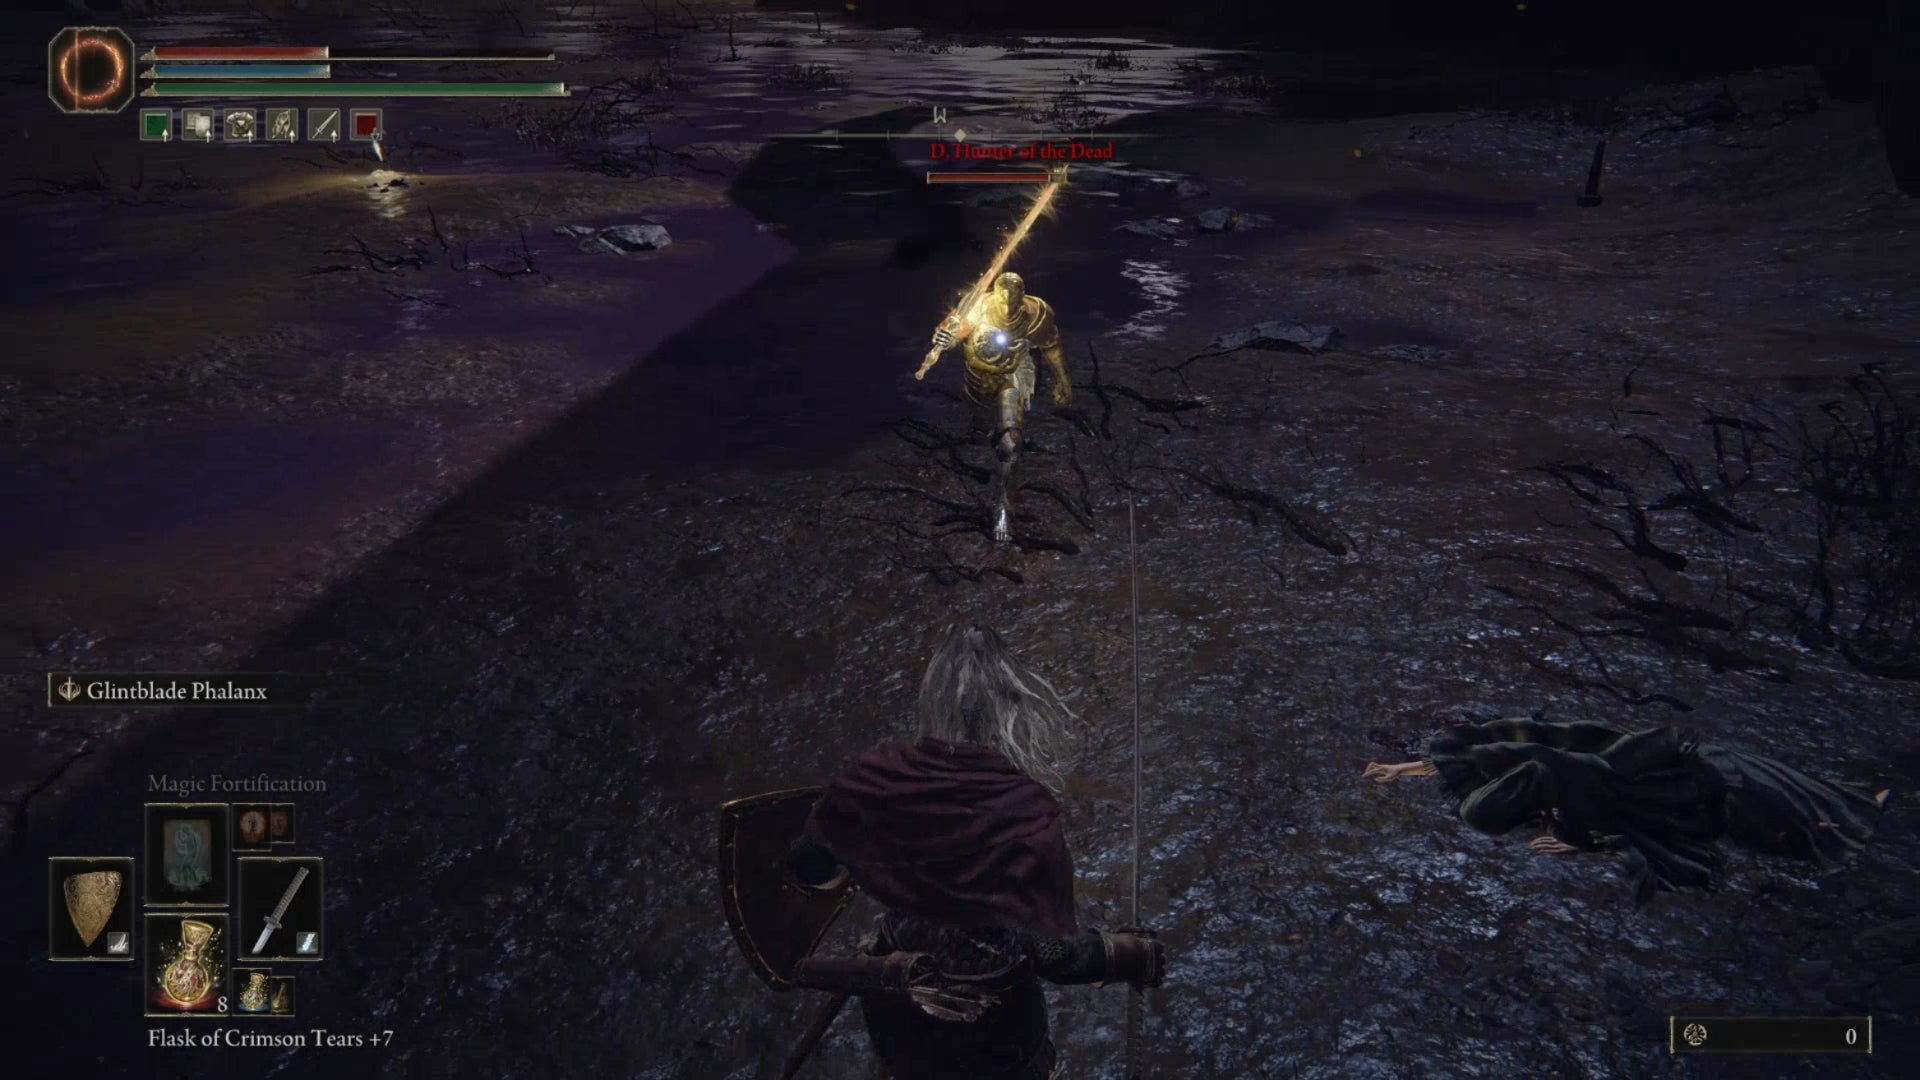
The very first thing you should do is introduce yourself to a character who may or may not become important later on, depending on your choices. Head east across the northernmost of the two bridges across the river in Limgrave, and follow the road through the cemetary. Just beyond the cemetary, you’ll come across D - a hunter dressed in distinctive armour. He’ll tell you about the town being infested with undead, but that’s not important to the larger Fia questline. If you don’t speak to him here, you can also find him upon your first visit to the Roundtable Hold.
2. Meet Fia in the Roundtable Hold
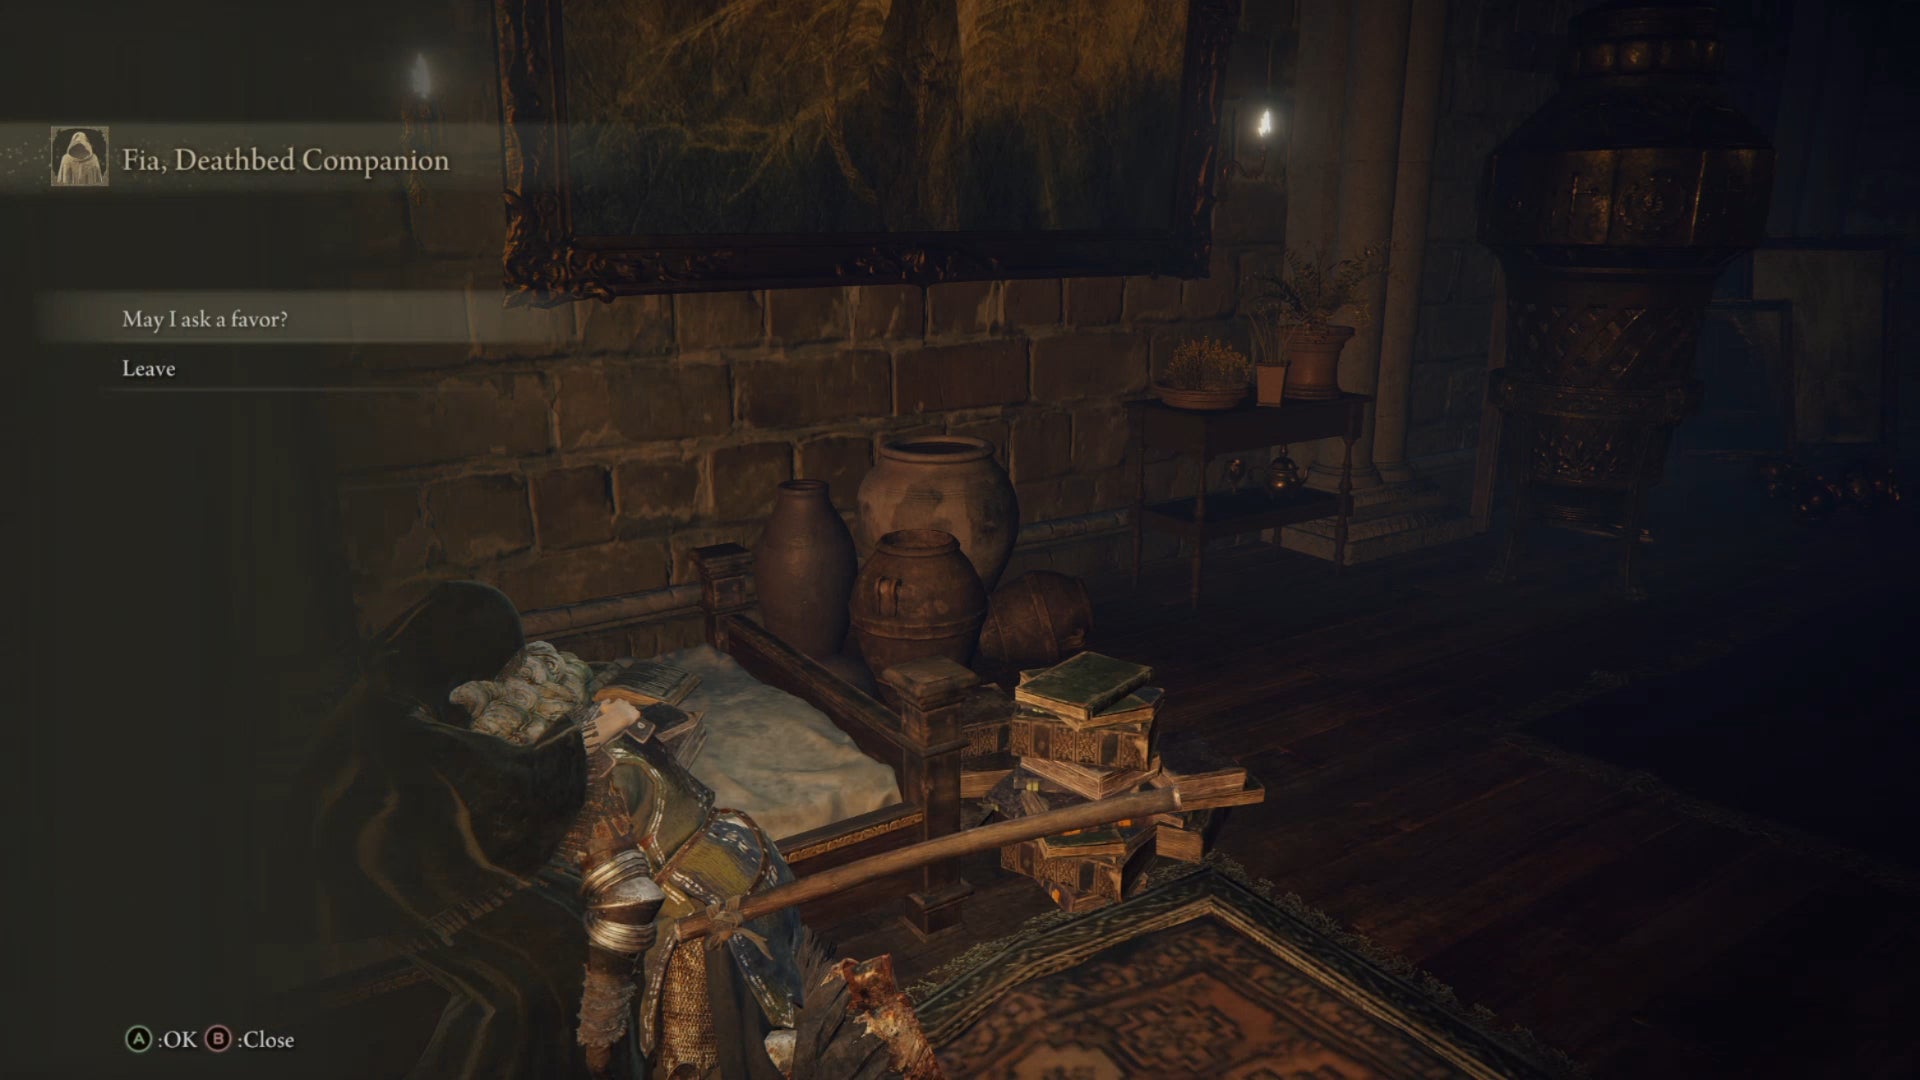
Now to introduce yourself to the main character of this questline: Fia, the Deathbed Companion. She has her own chambers in the Roundtable Hold, next to the Blacksmith Hewg. Fia asks if she can hold you, to which you should agree. Whenever you hug Fia, two things happen:
You receive a Baldachin’s Blessing (if you don’t already have one) You receive a max health debuff which persists until you use the Baldachin’s Blessing
The Baldachin’s Blessing uses FP when used, and temporarily boosts your poise. If you’d prefer to immediately get rid of the health debuff, go ahead and use the Baldachin’s Blessing now.
3. (Optional) Talk to Sorcerer Rogier in the Roundtable Hold
Once you’ve defeated Godrick the Grafted in Stormveil Castle, Sorcerer Rogier will appear in the Roundtable Hold, on the balcony overlooking the main hall. Speak to him, and he’ll talk about various things, including his friendship with D, their joint exploration of death, and the “mark of the centipede”. He’ll also tell you his fighting days are behind him, and give you his sword - Rogier’s Rapier +8 - a fine early-game melee weapon.
4. Talk to Fia until she asks a favour of you
Whenever you return to the Roundtable Hold, you should head to Fia’s chambers and request a hug from her, even if you already have a Baldachin’s Blessing. After a certain number of times, or possibly after certain story quest conditions are met (such as the slaying of demigods and the activating of Great Runes), Fia will ask a favour of you. She will hand you a Weathered Dagger, and ask that you return it to its owner. It was apparently given to her as a gift by this person, and she’d like them to have it back
5. Give the Weathered Dagger to D
Turns out, that Weathered Dagger was given to Fia by none other than D. You can head immediately from Fia’s chambers to D, who sits about the main table. Hand him the dagger, and he’ll say that he intends to give it back to her.
6. Reload the area and head to the new room in the Roundtable Hold
To progress to the next step, you’ll need to reload the Roundtable Hold area by fast travelling away and then back, or by quitting and reloading the game. After that, head into the newly opened room beyond where Blacksmith Hewg resides, and you’ll find D dead on the floor, Fia standing over him. She says the following: And with that, she disappears. Before you leave, you should loot D’s body. You’ll obtain his powerful Twinned Armour set, and a Bell Bearing to trade in with the Twin Maiden Husks.
7. (Optional) Take Rogier’s letter
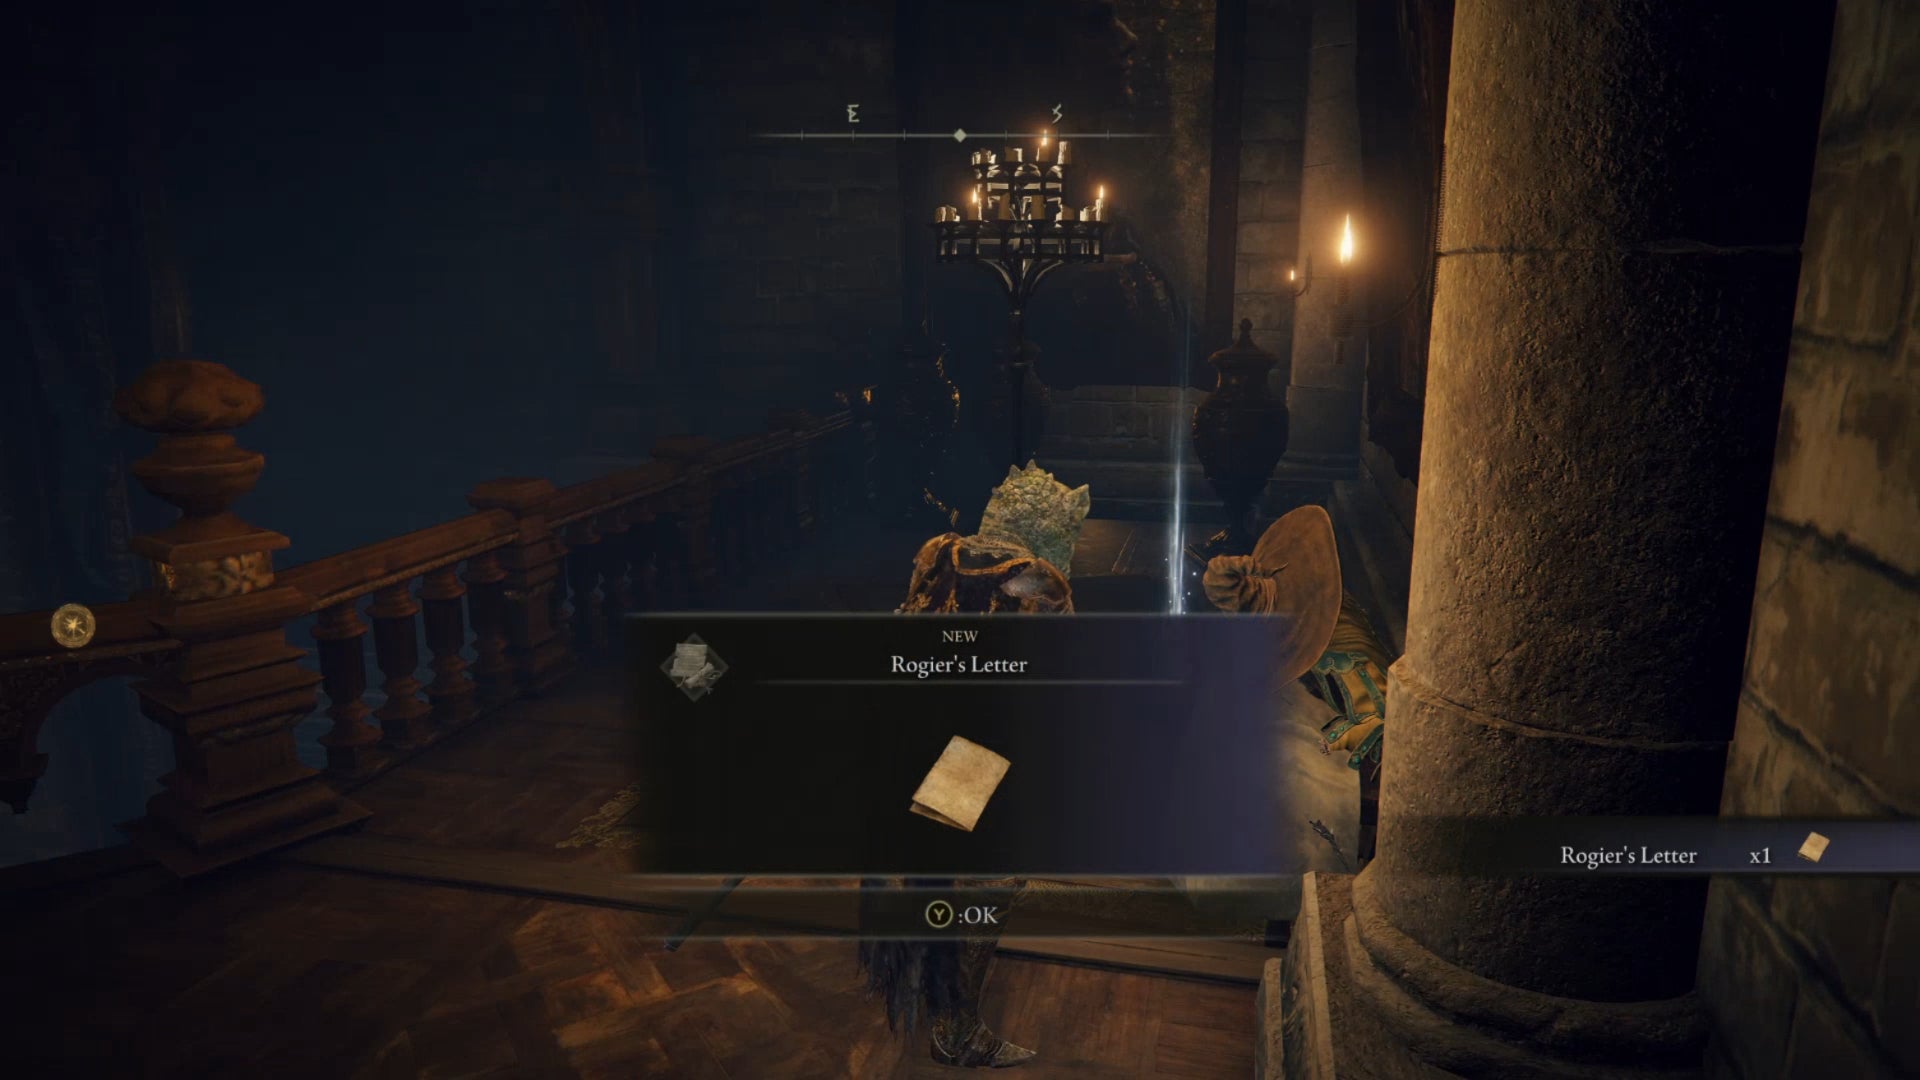
With Fia and D gone, when you now go and speak to Sorcerer Rogier on the balcony, you’ll see that he’s not in the best of states, barely able to speak to you at all. The next time you speak to him after that, he appears to have died. You can loot his body to find a letter written by him, which divulges that D has a younger brother, who lies in a deep sleep in the aqueduct beside Nokron, the Eternal City. It’s not necessary to take this letter in order to progress the questline, but it adds a little bit of extra background.
8. Complete Ranni’s questline up until you earn the Carian Inverted Statue
If you haven’t done so already, you should now take the time to work through Ranni’s questline. Our Elden Ring Ranni quest walkthrough will help immensely with this. Follow the guide up until you earn the Carian Inverted Statue. Then you can return to Fia’s questline.
9. Take the Cursemark of Death from the Divine Tower of Liurnia
With the Carian Inverted Statue in hand, you can now proceed to the Carian Study Hall on the east edge of Liurnia. Use the Carian Inverted Statue to reach the Divine Tower of Liurnia, and when you reach the top, pick up the Cursemark of Death from the body at the centre of the tower top.
10. (Optional, Choice) Give the Twinned Armour to D’s brother in the Siofra Aqueduct
This next step constitutes an important choice in Fia’s quest. You may now trek through the Siofra Aqueduct: part of the vast underground area accessible from the Siofra River Well by the Mistwood Minor Erdtree. Towards the end of the aqueduct, just before the Valiant Gargoyle boss fight, you’ll come across D’s brother, locked in some kind of permanent dream. If you give D’s brother D’s Twinned Armour, then at the end of Fia’s quest, D’s brother will kill Fia. You will also obviously lose the Twinned Armour for use yourself. If you don’t give the Twinned Armour to D’s brother, then Fia will live, but D’s brother will stay locked in his deep dream.
11. Use the coffin to reach Deeproot Depths
Regardless of whether you choose to depart with your Twinned Armour when meeting D’s brother, you should then face the Valiant Gargoyle boss fight. Once you have won this fight, interact with the coffin at the far end of the arena, and you’ll be transported to a new underground area directly under the Capital, Leyndell. Progress to the Deeproot Depths Site of Grace, and then use the large Erdtree branches that curve through the city in front of you to reach the Across the Roots Site of Grace on the high-up ledge overlooking the city.
12. Fight Fia’s Champions
Head past the Across the Roots Site of Grace, and towards the strange-looking gigantic creature towards the other side of the clearing. As you near it, you’ll be accosted by numerous of Fia’s champions. First one will fight you, and then an apparition of Sorcerer Rogier will attack you; and finally, Lionel the Lionhearted and two more champions will attack you at once. Defeat each of them.
13. Speak to Fia and ask to be held again
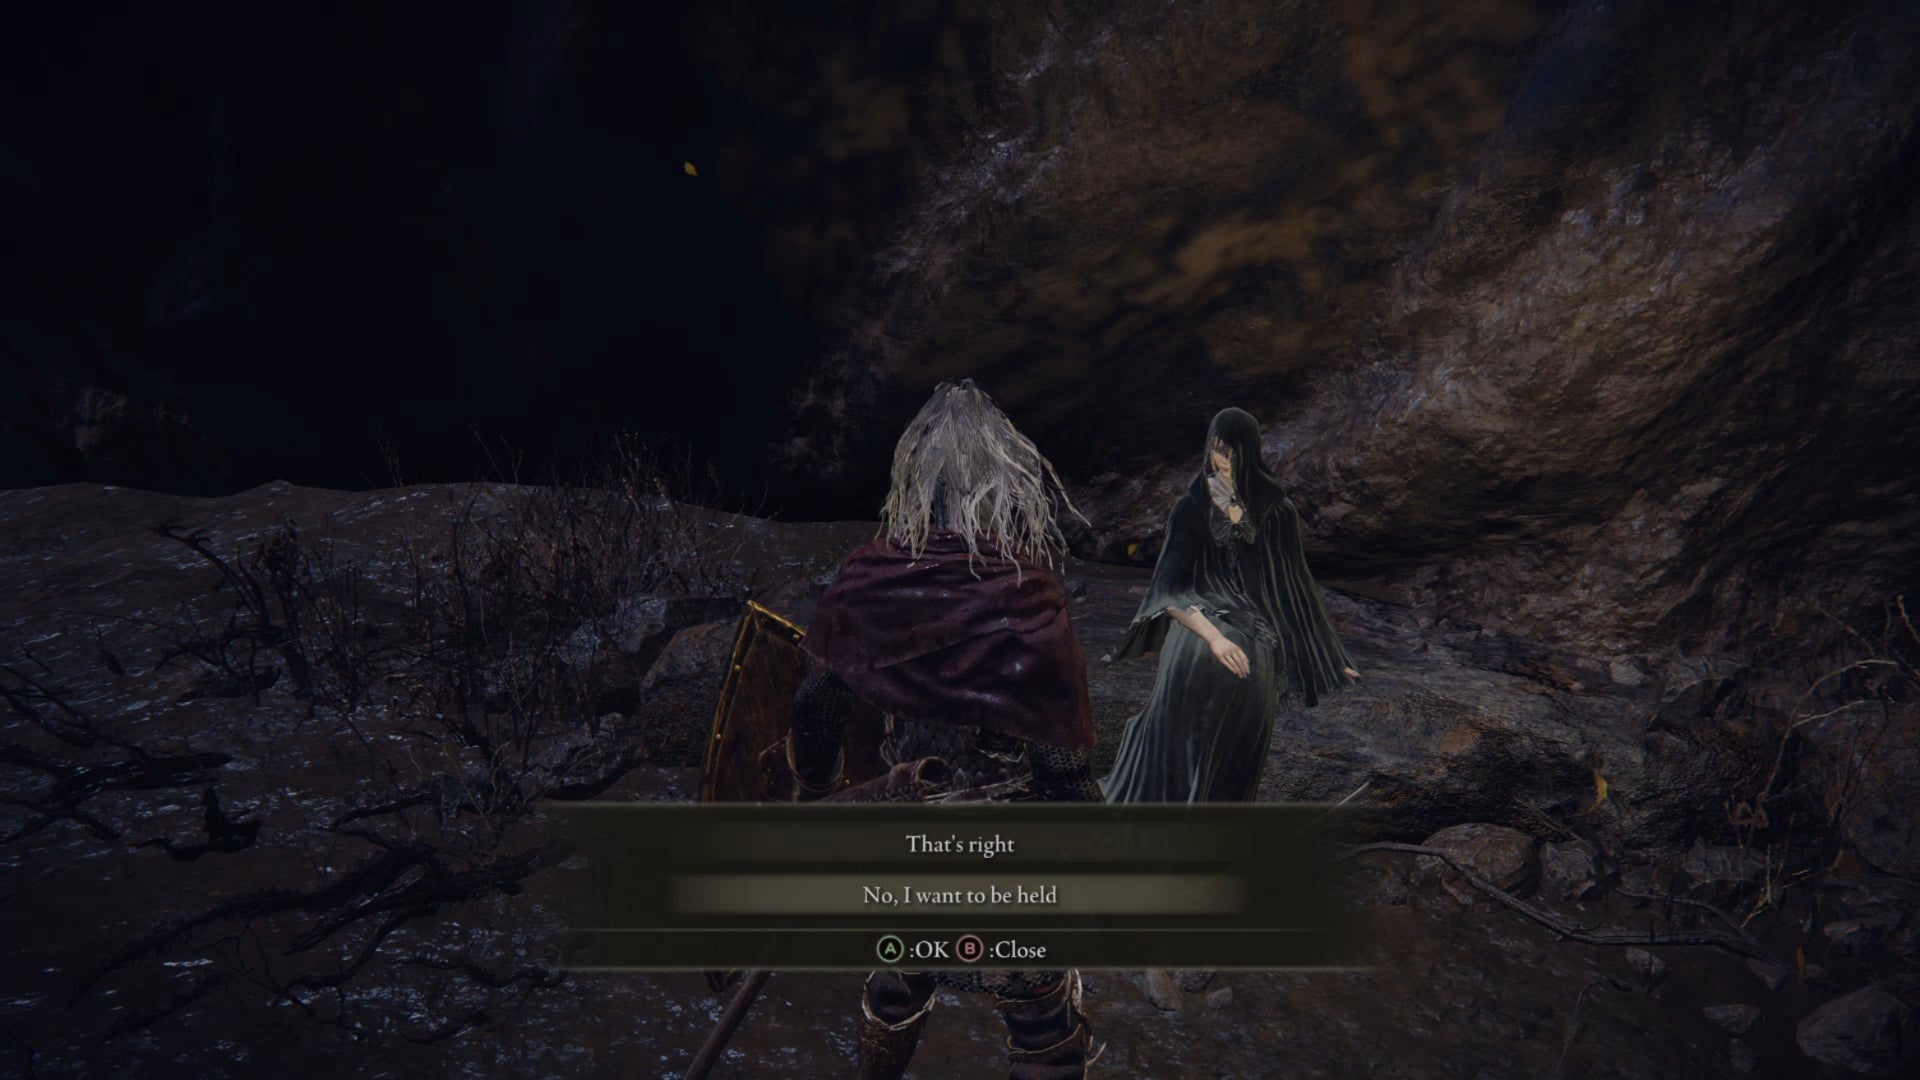
Once you’ve beaten her champions, Fia herself will appear before you. Speak to her, and choose the option “No, I want to be held”. Then continue speaking to her, and she’ll tell you more about the Hallowbrand - the mark of the half-centipede left in the demigod Godwyn when he was killed. Fia will then tell you that she is after the second such cursemark.
14. Give Fia the Cursemark of Death
Fortunately, if you’ve been following this guide, you’ll already long since have obtained the Cursemark of Death from the Divine Tower of Liurnia. Give Fia the Cursemark, and she will thank you profusely, all her previous frostiness towards you disappearing. Fia will then tell you her plan to lay with Godwyn and bear a child with which Godwyn can live “a second, illustrious life”.
15. Reload the area and interact with Fia
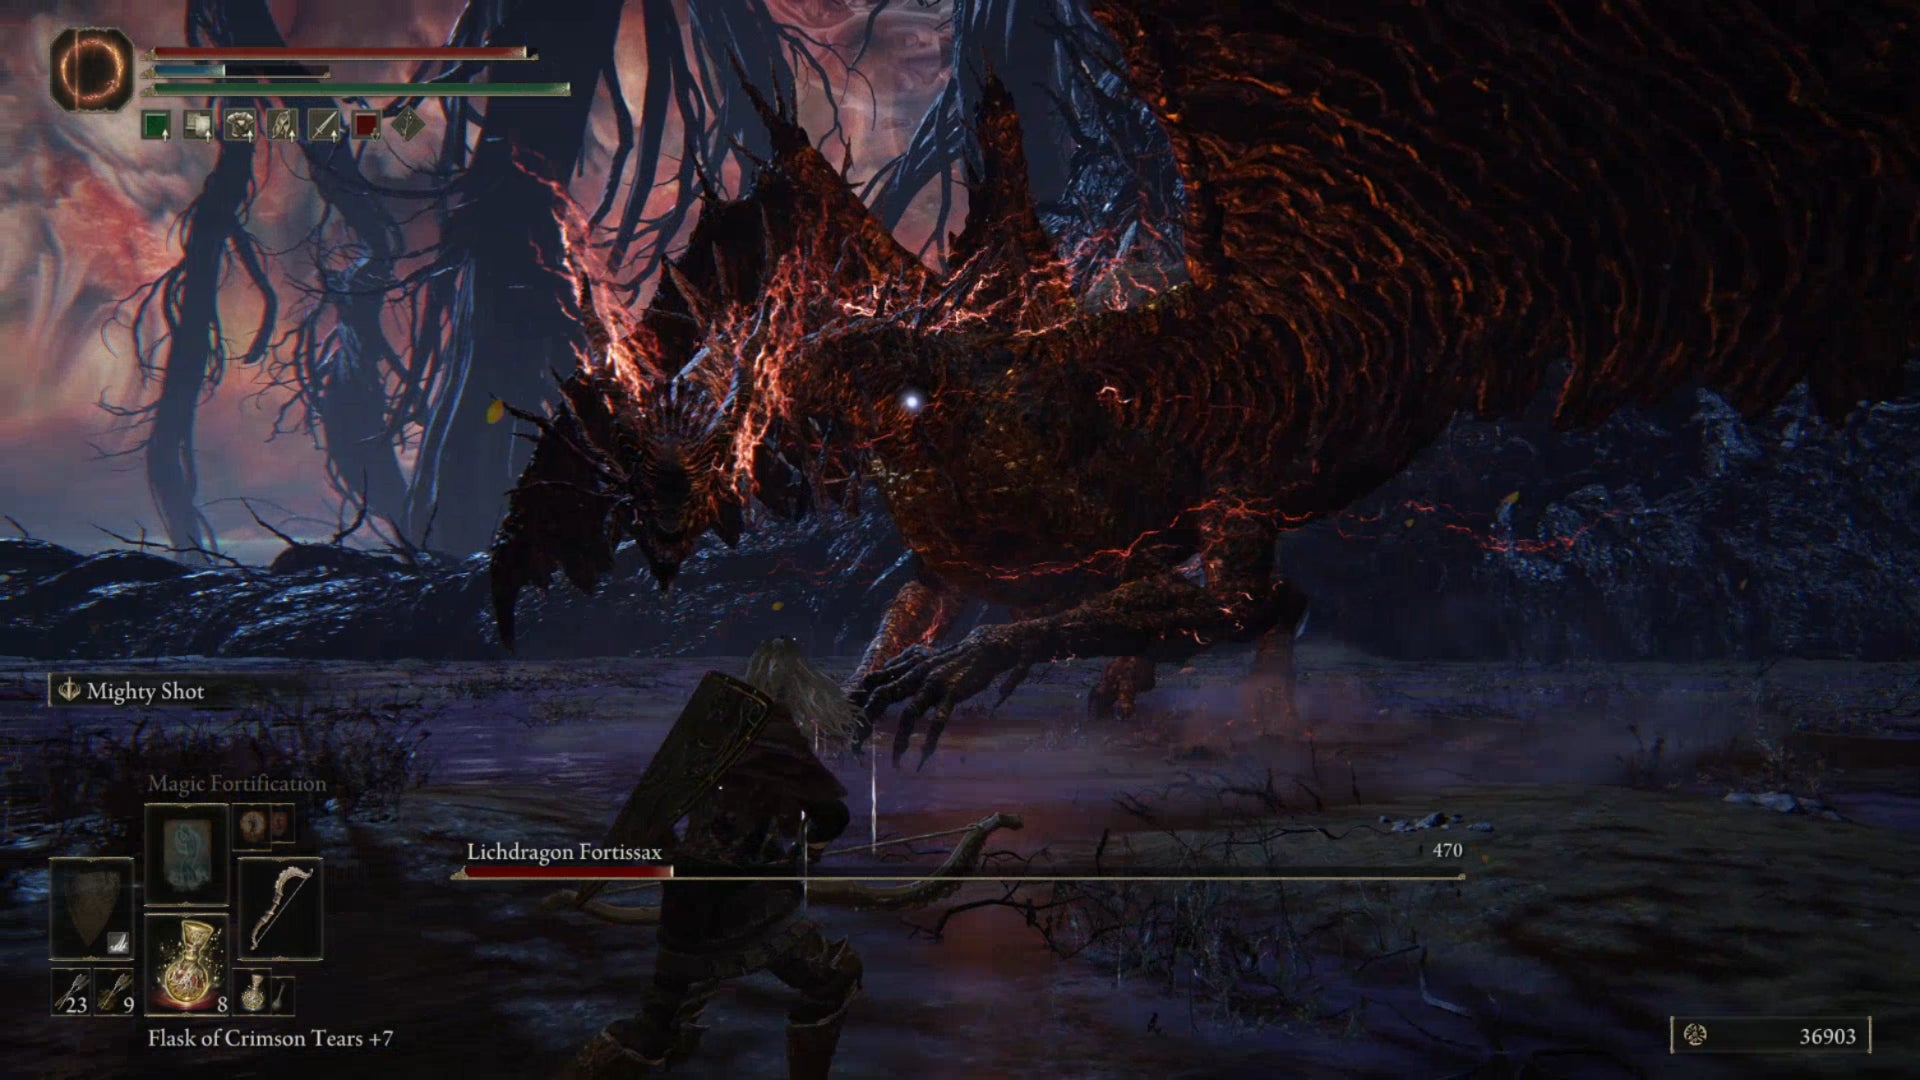
Reload the area by fast travelling away and back again, and you’ll find that Fia has gone to sleep in the same place she was before. Interact with her to enter the Deathbed Dream. This place is guarded by a powerful dragon boss, so prepare yourself.
16. Defeat the Lichdragon Fortissax
Your next step is, quite simply, to defeat the boss inside the Deathbed Dream. If you’re a melee character, you may find this rather challenge. For ranged combatants, the Lichdragon Fortissax is actually fairly straightforward. Once you’ve beaten it, you’ll automatically be returned from the Deathbed Dream.
17. Obtain the Mending Rune of the Death-Prince from Fia
Once you’re back, you’ll see that it appears that Fia has fallen into a coma of some sort. No doubt she is continuing her Deathbed Dream. You can loot her to obtain the Mending Rune of the Death-Prince - the key item which can influence the ending of the game.
18. (Dependent on earlier choice) Reload the area and speak to D’s brother
If you gave D’s brother the Twinned armour earlier on, then reload the area and you’ll find that he has slain Fia in her sleep, and stands gloating over her. D’s brother has taken his revenge for D’s death, and saw Fia and her occupation as Deathbed Companion as an affront to his principles of hunting death and the undead.
19. (Dependent on earlier choice) Take back the Twinned Armour
If you followed the path which results in Fia’s death at the hands of D’s brother, you can now either attack D’s brother and kill him, or simply reload the area. Either way, you’ll earn back the Twinned Armour, along with a new weapon: the Inseparable Sword.
20. (Optional, Choice) Use the Mending Rune of the Death-Prince after the final boss
Regardless of your earlier choices, if you obtained the Mending Rune of Death from Fia then you’ll have the option to use it at the very end of the game, after defeating the final boss. I won’t go into detail here, but it gives you a slightly different variant of the main ending, which is neither the best nor the worst ending on offer in Elden Ring. That’s the entirety of Fia’s storyline and questline in Elden Ring detailed step by step. Hopefully you found it useful. While you’re here, you may also want to check out our maps of the different Elden Ring boss locations. Alternatively, if you’re still in the early days of your journey, you should consult our lists of the best weapons, best armour, and best builds in the game. Or if you want a proper high-level overview of the steps you need to complete the game, check out our Elden Ring walkthrough.
