How to use the Atlas passive tree in Path Of Exile
After killing Kitava in Act 10 to complete the Path Of Exile campaign, players will be greeted by a new epilogue sequence. Meet with the newly promoted Commander Kirac to get a free map and begin your journey through the Atlas of Worlds. If you open the Atlas (G is the default keybind) and hover over a map, you will see a “bonus objective” for the map, which typically requires you to run the map at a specific rarity and kill the map boss. Each bonus objective you complete will award one point to spend on your Atlas passive tree. For most of the endgame, it’s really that simple. Run more maps, progress up the new Atlas, and boost your maps through the tree. There are 117 maps to complete, and this will provide the bulk of your Atlas passive points. There are also an additional 11 points you can earn from the Maven and her invitations, the Eldritch bosses, and the Uber Elder. Most players are unlikely to earn all 128 points though and should plan on having 80 to 100 points to work with on their Atlas tree.
How to respec the Atlas passive tree
Mercifully, respecing the Atlas passive tree is very straightforward. Just right-click on an Orb of Unmaking to consume it and gain a single respec point, which you can use at any time. Orbs of Unmaking are tradeable, and part of the global drop pool. Plus, you can buy an unlimited number of them from Kirac for two Orbs of Regret each. So, for a relatively modest cost, you can respec as much of your tree as you want at any time. It is feasible to change trees and strategies multiple times throughout a league if you desire. However, you should stick with a plan early on to avoid wasting orbs on unecessary respecs.
Recommended Atlas strategies for league start
It is very difficult to go wrong with the Atlas passive tree, but some nodes will be especially powerful for the early days and weeks of a league. Below we’ll break down some of the best options for new characters and players. Patch 3.19 introduced several significant changes to old league mechanics like Harvest and Beyond, and the change from Exalted Orbs to Divine Orbs as a cost for metacrafting indirectly nerfed mechanics like Harbinger and Strongboxes. Our updated Atlas strategies will reflect these changes and prepare you for the new trade economy.
The Kirac and Shaping wheels
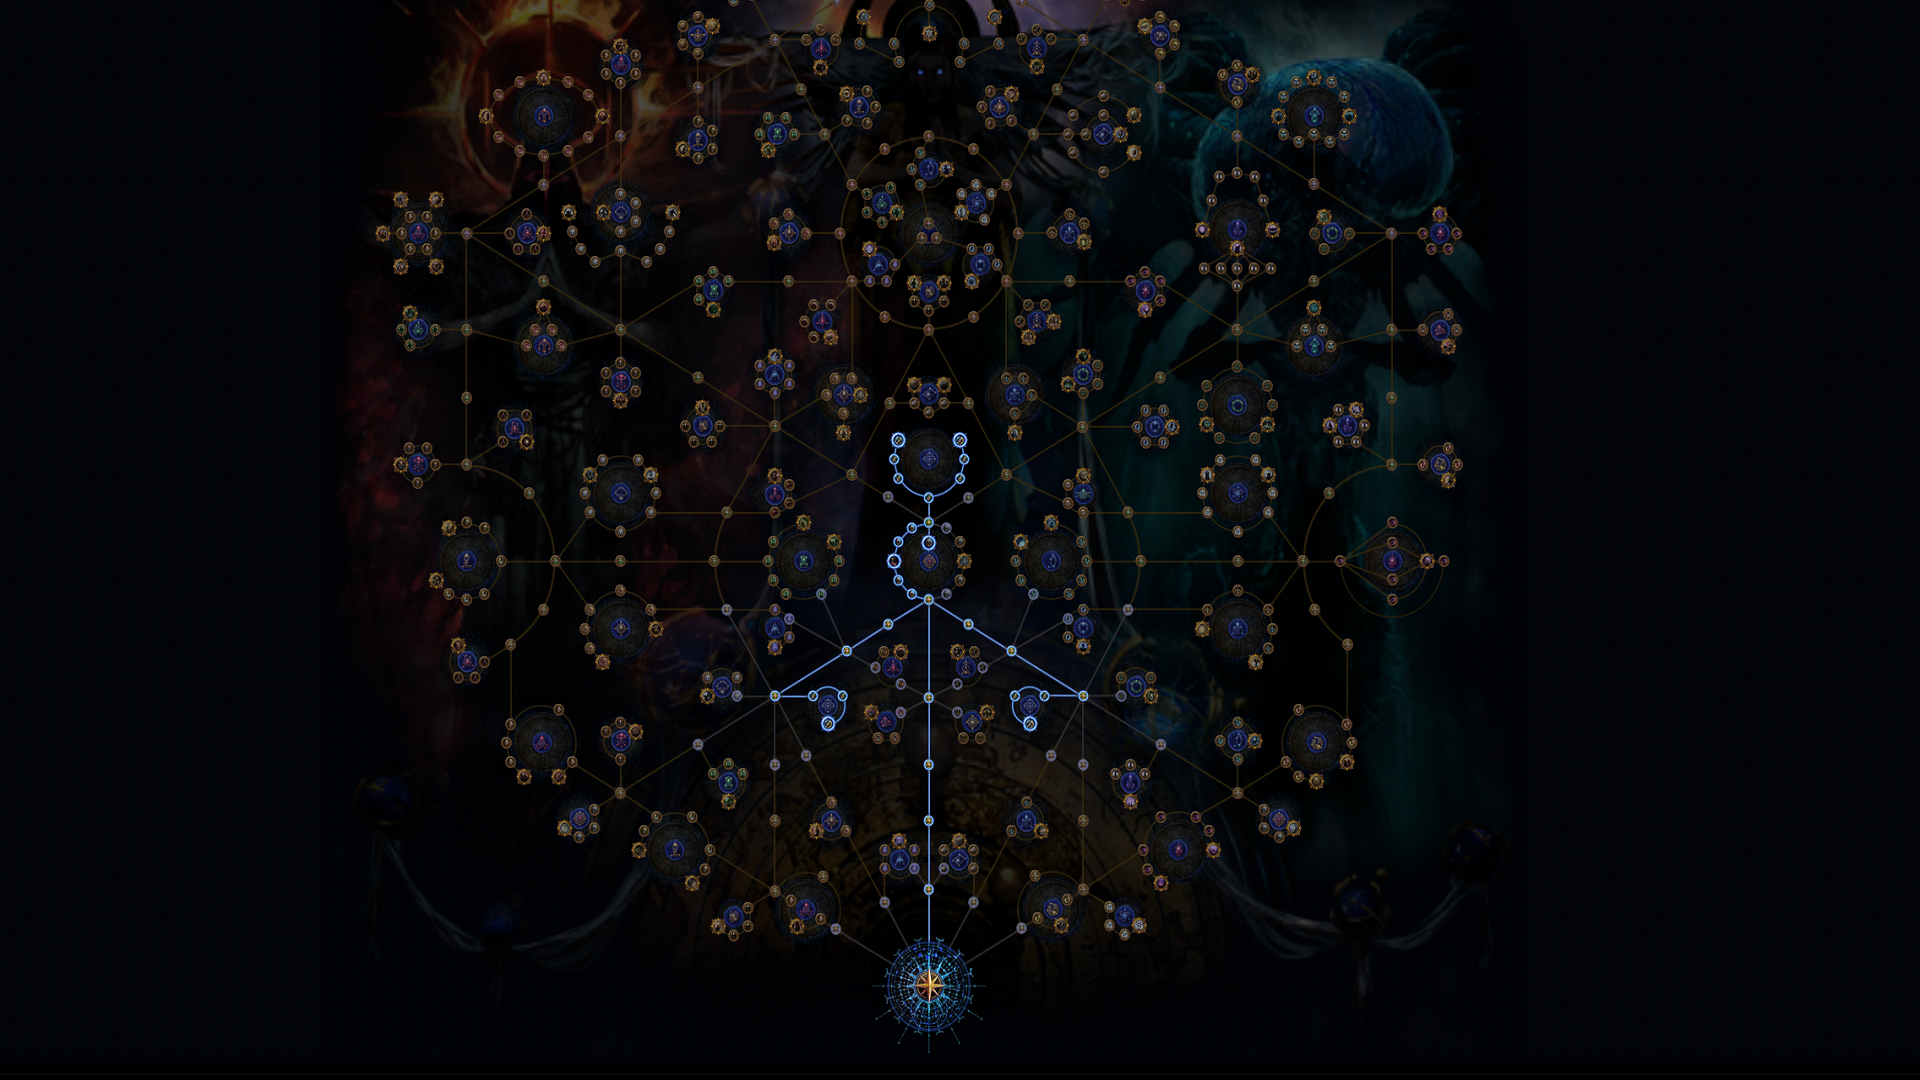
The center Kirac wheel is one of the easiest ways to generate extra maps early in a league. Access to more Kirac missions means access to more maps. Access to more maps means access to more Atlas passives. You get the idea. Taking the left side of this wheel plus the Shaping the Mountains, Valleys, Seas, and/or Skies nodes will form the base of a generically powerful tree for any build. If you’re overwhelmed by the tree and have no idea where to go, start here to speed up your Atlas progression.
Essences and Harvest
Essence nodes are very easy to recommend because every player can make use of Essences. While Essences form the base of many complex crafts, they’re also one of the easiest, most accessible ways for inexperienced players to acquire better gear. If you need generic stats like resists or attack speed, you can easily get them with essences. You can guarantee an Essence in every map with your first few points, and boost their tiers and availability with the higher wheels. Essences pair perfectly with Harvest, which has received major changes that make it more accesible to the average player. Instead of specific single-use crafts, Harvest encounters now reward tradeable Lifeforce that can be spent on Harvest crafting at any time. While some of the most powerful crafts have been removed or changed, even the most basic Harvest crafts are useful. Harvest and Essence should be the go to combination for players who like to craft their own gear.
Shrines and Strongboxes
Shrines and Strongboxes have been a fun, accessible way to add monster density since the introduction of the current Atlas tree system. Both mechanics add monsters to the map, and good Shrine RNG can actually help you clear faster. There are even builds out there that use the Gull unique helmet to stack Shrine buffs and blast maps. If you want more monsters per map without the risk of something like Beyond or Delirium, Shrines and Stronboxes are the way to go. Do keep in mind that corrupted Strongboxes are a lot less valuable after patch 3.19, now that 6-links no longer vendor for a Divine Orb. You will likely skip the Stronbox node “Tamper Proof” now.
Expedition
Expedition remains one of the most valuable league mechanics to farm for easily tradeable items. The vendor reroll currencies sell well in bulk, and Logbooks are worth 20-40 Chaos in trade throughout most leagues. If you want a mechanic that generates easy to sell items, Expedition is for you. Expedition has also gained some value due to the Exalted-Divine price swap. Divine Orbs will likely be worth more than Exalted Orbs ever were, so the occasional Divine from Tujen has a lot of value. Rog is also great for early-league crafting, helping Expedition mesh with the nearby Harvest nodes.
Beyond, and Delirium (advanced)
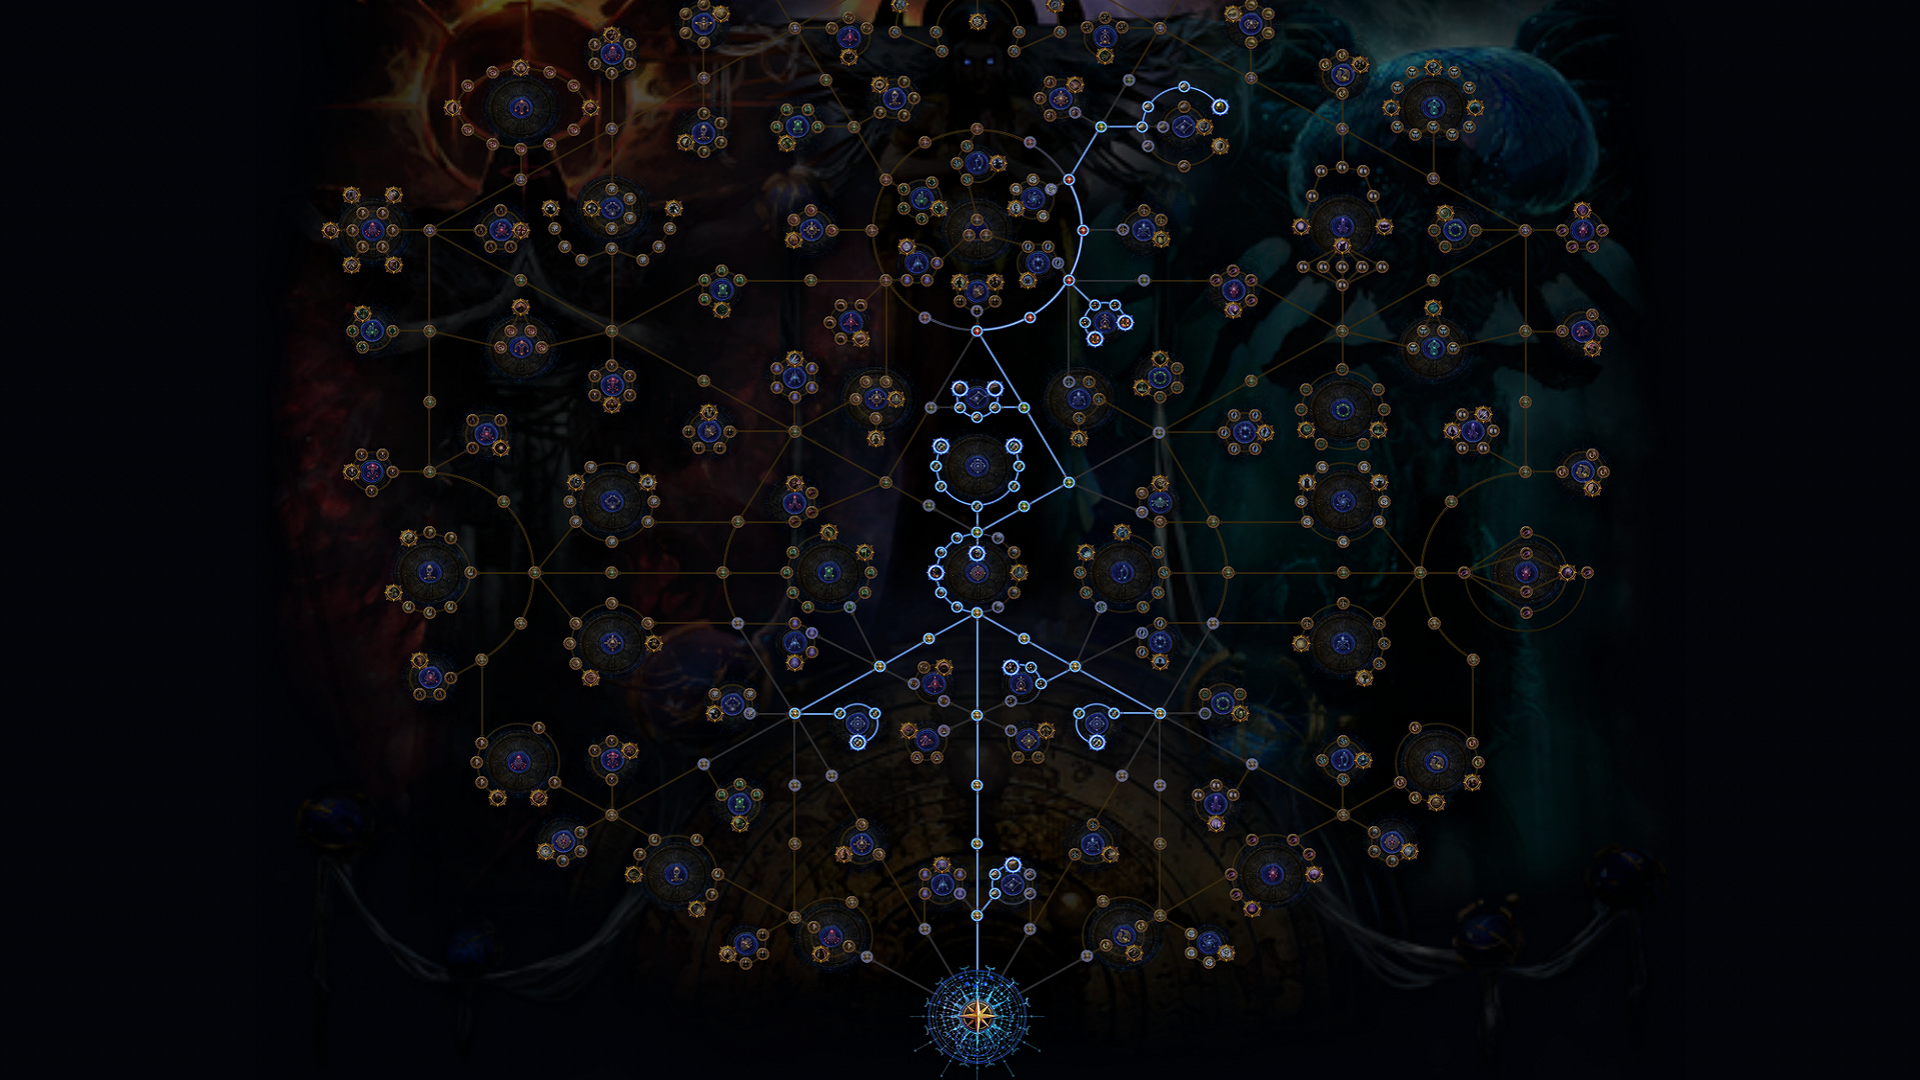
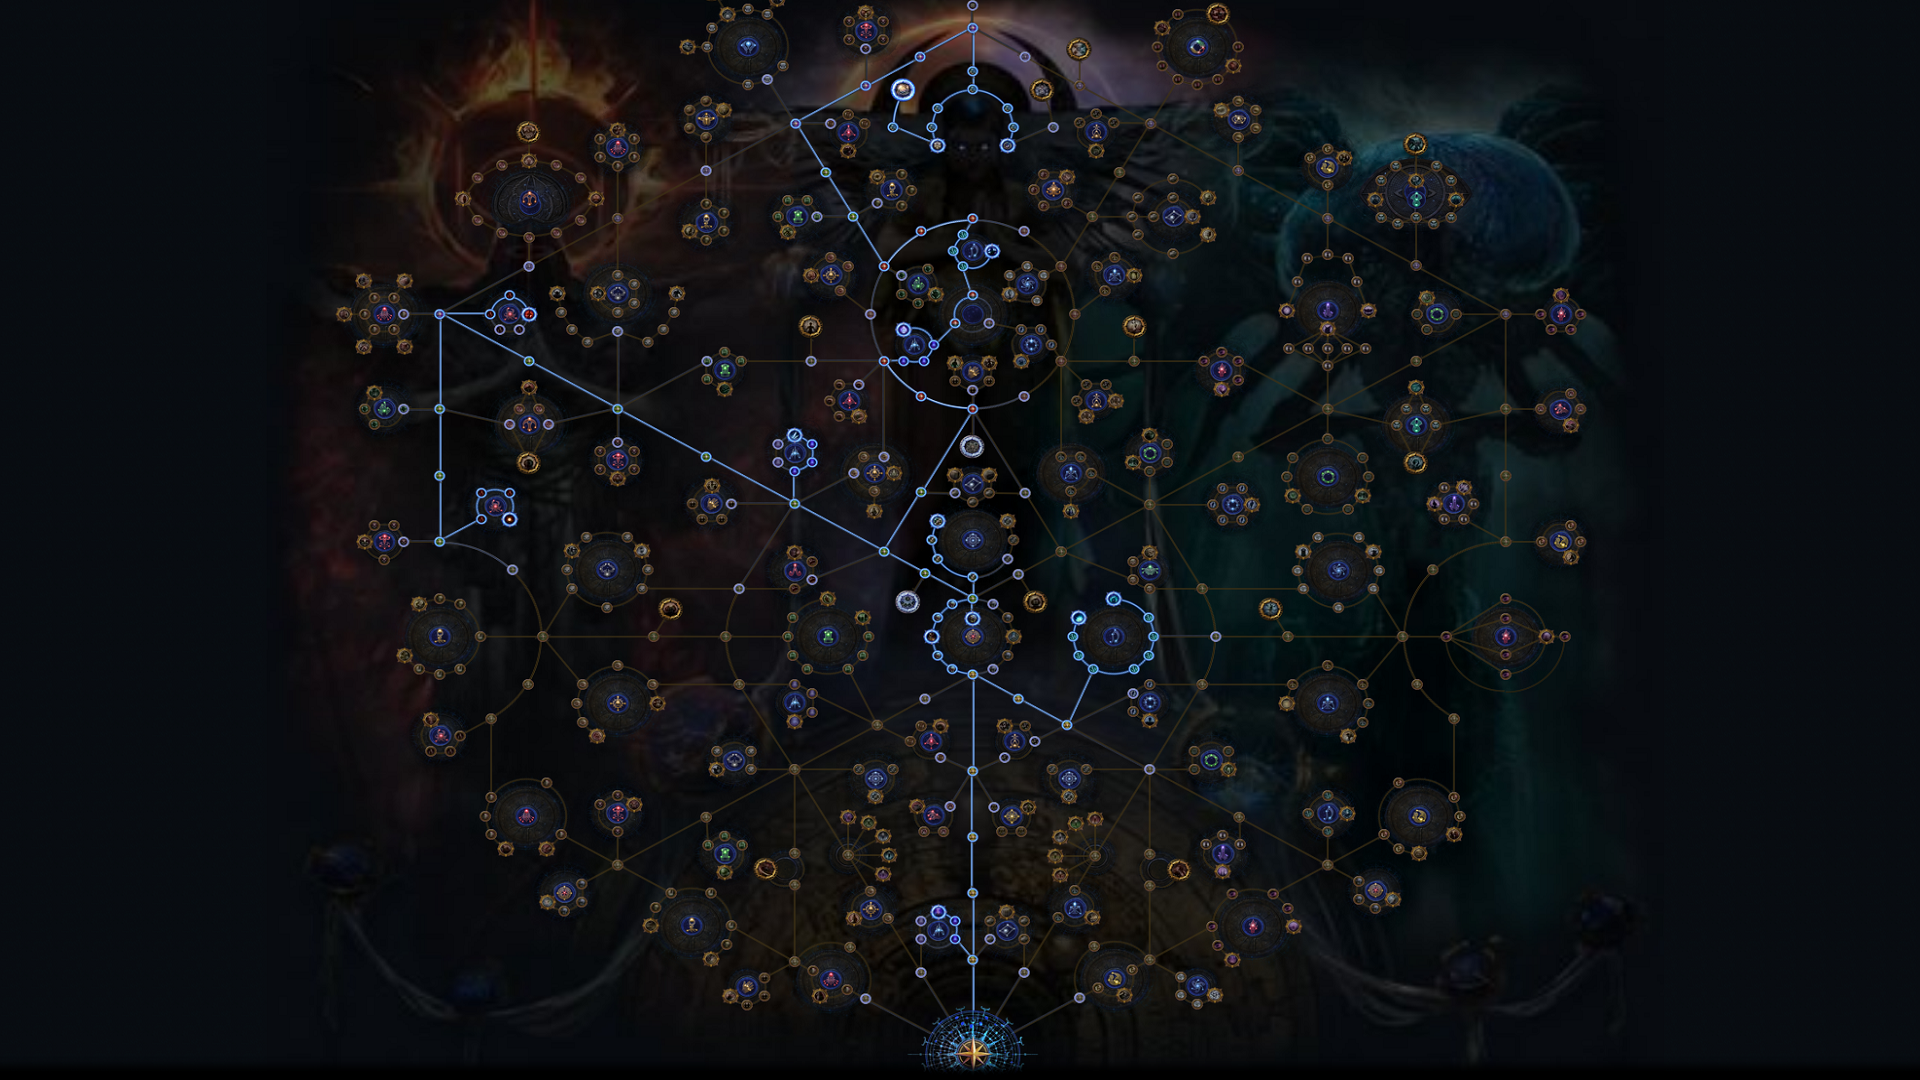
More experienced players can invest heavily in the left side of the tree to drive monster density through the roof. Beyond has been the best way to scale monster density for years now and should remain extremely valuable despite nerfs in patch 3.19. Plus, Beyond monsters now drop the old Tainted currencies from Scourge league, adding more value per monster. Delirium boosts density further and compounds off of the extra monsters from Beyond to create some really crazy maps. You can then use Harvest to roll the Cluster Jewels Delirium drops for some easy money and sell Simulacrum Splinters for a tidy profit. Just be aware that you need a solid character to handle high-tier Delirium and Beyond content. This is more of a tree you respec to after a few days than something you rush at league start.
Eldritch Influnce
Continuing the theme of monster density, the Eldritch Influenced map nodes on either side of the tree are excellent. There is some setup required before you can really take advantage of these; you will need to defeat the quest verions of the Searing Exarch and Eater of Worlds as well as The Maven before you can start running influence on every map. Once you’re ready though, you should be using one of these on every map unless you are specifically farming Maven invitations. Pick your preferred influence, spec into these nodes, and blast away. Be aware that the keystone nodes at the bottoms of these wheels, while powerful, are extremely dangerous. Avoid these unless you have a very strong character or don’t care about dying.
Bossing trees
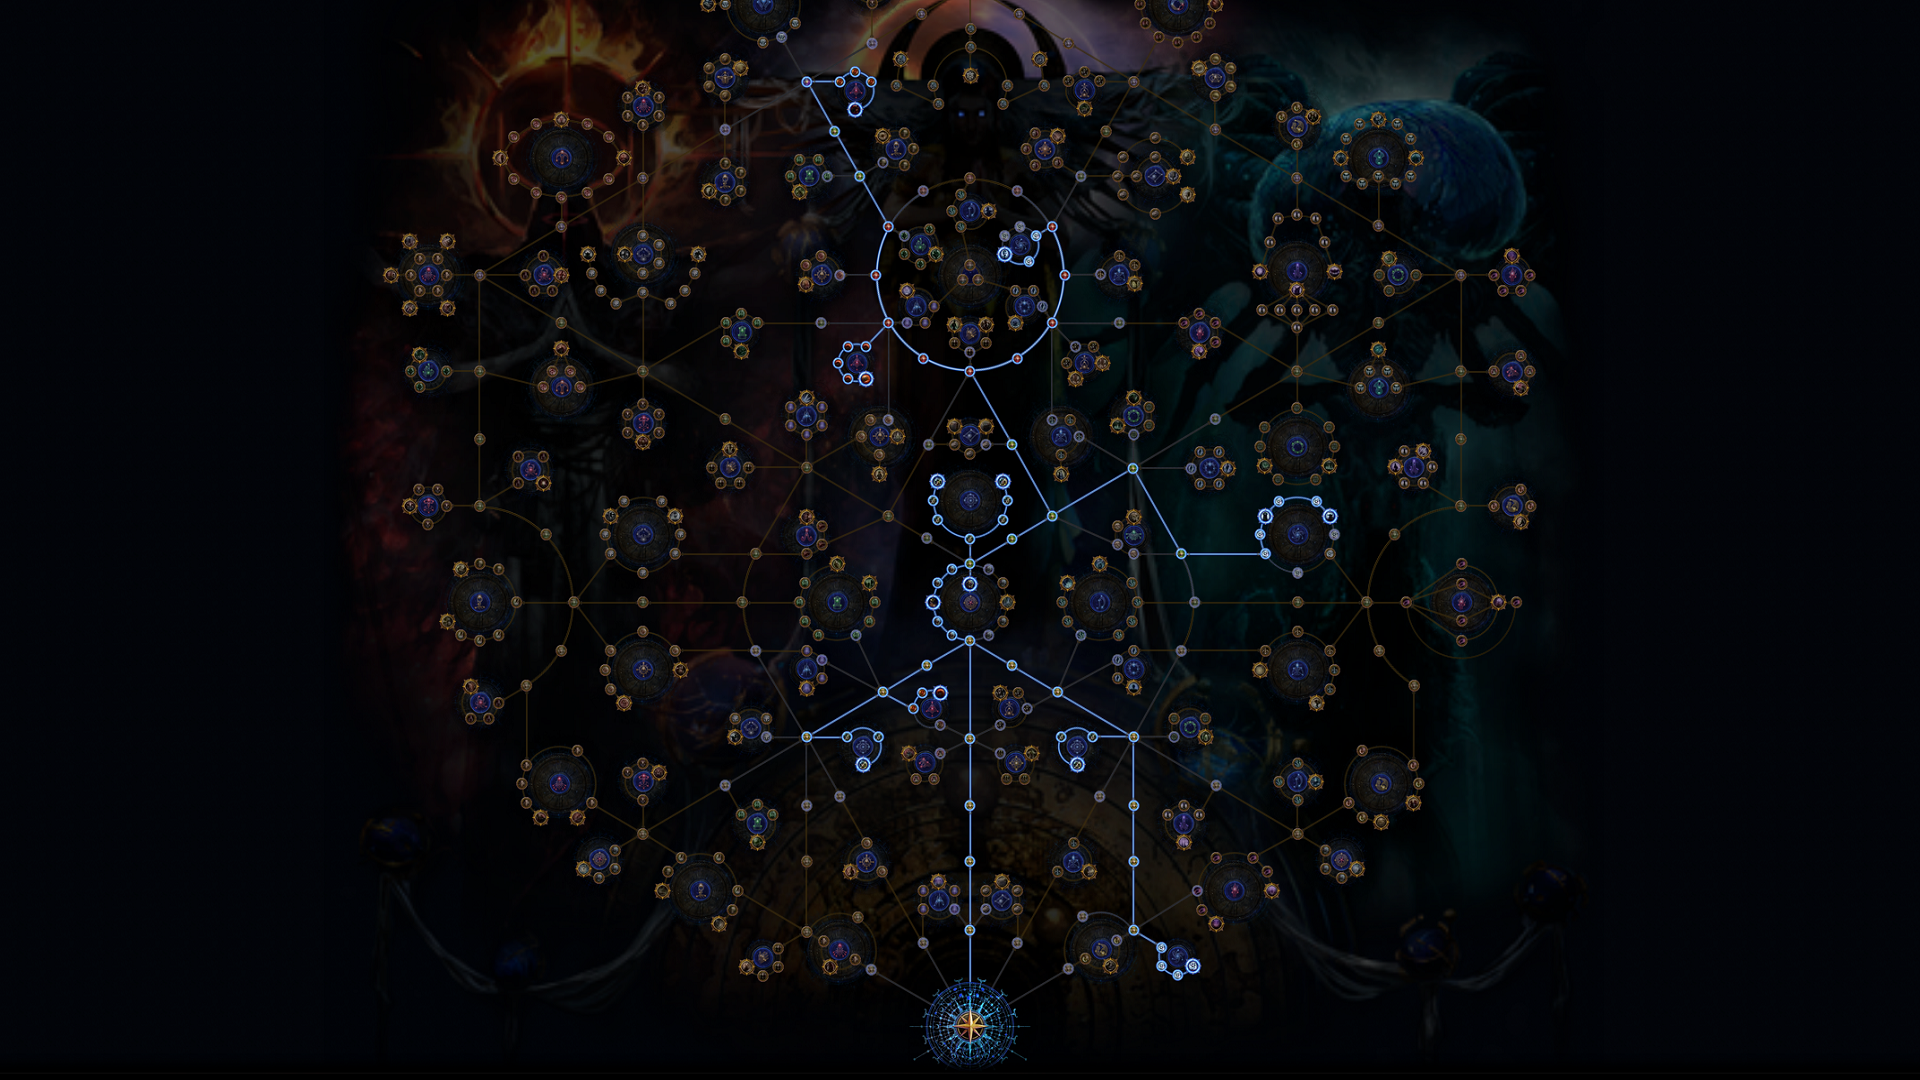
If you plan to farm pinnacle bosses, you should invest into their sections of the tree. This is about as straightforward as it sounds. Just find the nodes for the boss you want (the example above shows Maven nodes) and activate them. Some of these help you spawn a boss or acquire its fragments faster, while others increase rewards from the fight. Just keep an eye out for the keystones that read “(boss arena area name) is level 85,” as these activate the extremely challenging Uber versions of the fights. Double check that you aren’t accidently running Ubers before your character is ready. That’s all it takes to get started with the new Atlas passive tree in Path Of Exile! There are loads of powerful options, and you can mix and match these strategies as you prepare for the new endgame bosses. If you haven’t picked your league starter yet, use our guide to picking your Kalandra league starter build to get going. If you’re a new player and need advice for the campaign, check out our guides to Path Of Exile skill point locations and the Trials of Ascendancy.


